A cutting board looks like a weekend of nothing on a store shelf. Then you build one, and it turns out to be a proper education: sawing straight, reading grain, fighting clamps, and finishing a piece of wood that will get wet every single week. Maple handles that abuse better than almost anything else. It is hard, closed-grained, and pale enough that the grain lines tell you clearly whether you are doing it right.
Here is the whole project, done with a handsaw, a drill, and a few clamps. No table saw, no thickness planer, no router. One board goes in, a cutting board comes out.
What You Need Before You Cut
The project starts with a single piece of maple. A board about 3/4 inch thick, 5 to 6 inches wide, and 24 inches long gives you a finished board roughly 11 to 12 inches wide after the strips are re-glued. Buy a board that is already surfaced on all four sides, sometimes labeled S4S, so you are not flattening rough stock by hand before you even begin.
Materials
- One maple board, 3/4" x 6" x 24" (a 1-inch board makes a heavier finished piece)
- Water-resistant PVA glue — check the label for a statement about indirect food contact
- Four to six bar clamps long enough to span the finished width
- Wax paper or plastic wrap for the clamp bars
- Mineral oil and a small block of beeswax for the finish
- Four rubber or silicone feet with screws, optional
Tools
- A rip saw, roughly 7 to 8 teeth per inch, or a Japanese ryoba with a rip side
- A bench hook or two clamps and a sturdy work surface
- Combination square, pencil, and a marking knife or awl
- A hand drill with a 1-inch hole saw or Forstner bit
- Sandpaper in 120, 150, 180, and 220 grit, plus a sanding block
- A chisel or old putty knife for scraping dried glue
- A dust mask — maple dust is fine and unpleasant, and worth avoiding
Reading the Maple
Sugar maple, sold as hard maple, is the traditional choice because it resists knife marks. Soft maple is easier to cut by hand and works perfectly well for a home board, though it will show scratches sooner. Either is fine. What matters more is how the grain runs through the face.
Look at the end of the board. You will see a set of curved lines, the growth rings, like a row of smiles or frowns. When you rip the board into strips, you get to decide which way each strip faces before you glue it back together.
Why the flipping matters
Wood moves as humidity changes, and a strip with its rings curving up will cup in the opposite direction from a strip with its rings curving down. Glue them all the same way and the whole panel can bow. Alternate them, one up, one down, one up, and the stresses cancel each other out. This single habit is the difference between a board that stays flat for years and one that rocks on the counter by spring.
Ripping Strips with a Hand Saw
Set the board on a bench hook or clamp it firmly so it cannot shift. Mark your strips across the width. Two-inch strips are a comfortable size to saw and give you a bold, classic look.
Before you cut, mark a line down the end grain of the board too, so you can check as you go that the saw is not drifting. Start the cut on the near corner with the saw held at a low angle, taking short strokes until the kerf is established. Then drop the handle and use the full length of the blade with long, relaxed strokes.
Two things make hand ripping far easier. Rub a candle stub or a little paste wax along both sides of the saw plate, and let the saw do the work instead of pushing down. If the saw starts wandering off the line, back up a few strokes and steer it gently rather than forcing it. Expect each rip through 3/4-inch maple to take a couple of minutes and a bit of sweat.
Make one extra strip than you think you need. You will want a spare for a test cut, and saw kerf eats about a sixteenth of an inch with every pass.
The Glue-Up
Lay the strips out on your bench in the order they will be glued, alternating the direction of the growth rings. Look at the ends to check. This dry run is where you find the strip that is slightly narrow or has an ugly knot right at the edge.
Cover the clamp bars with wax paper. Spread a thin, even bead of glue on one edge of each joint — enough that a little squeezes out when clamped, not so much that it runs down the sides. Too much glue is a bigger problem than too little, because squeeze-out smears into the pores and shows up later as a dull streak under the finish.
Bring the strips together, add clamps across the width, and tighten until you see a thin line of glue along each joint. Work from the middle outward and check that the panel is sitting flat on the bench. Wait about twenty to thirty minutes, then scrape the rubbery squeeze-out off with a chisel held flat, working along the joint. Wiping with a wet rag pushes glue into the grain and raises the wood, so scraping is the cleaner option. Leave the panel clamped for a full day before you touch it.
If you want a thicker board, stand the strips on edge and glue their wide faces together instead. You will end up with a narrower board that is as thick as your strips are wide, and a butcher-block look on the top face.
Drilling the Handle and Feet
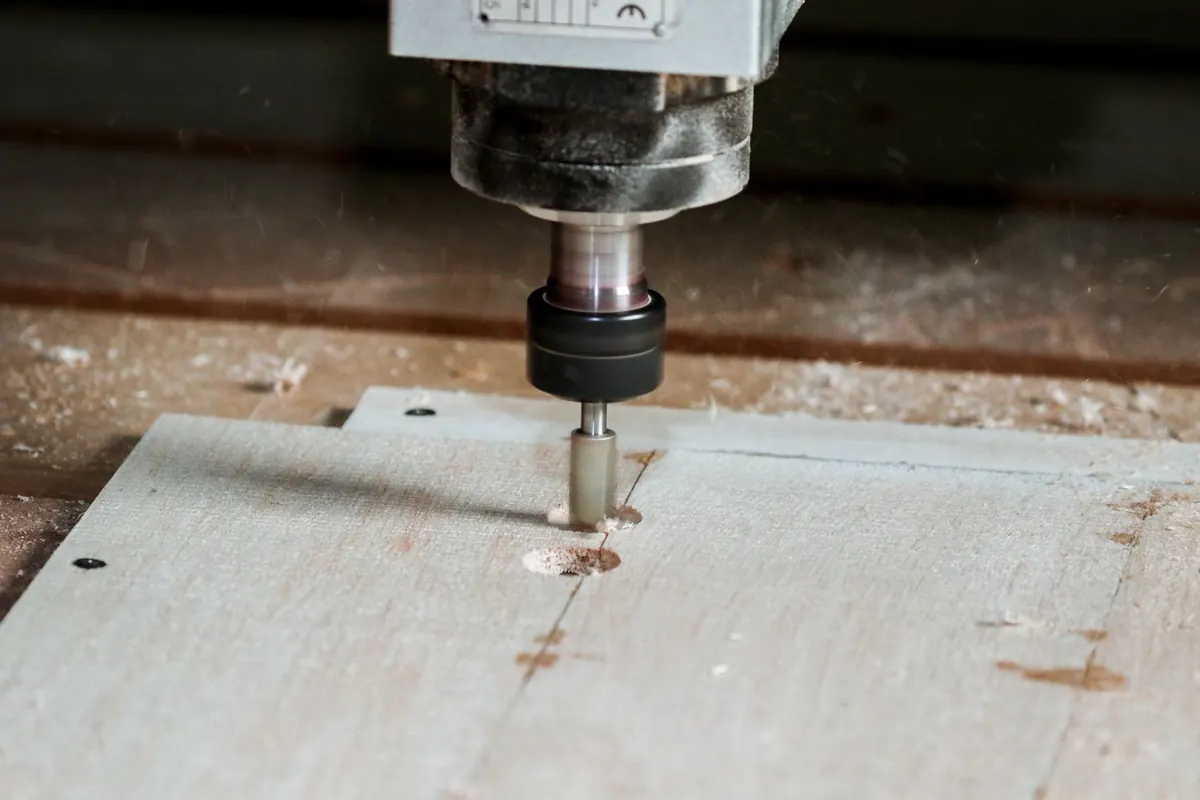
Wait until the glue is fully cured. Mark the handle hole an inch or so in from one end, centered. Clamp a scrap board underneath the spot, top and bottom, so the bit does not blow out the back edge. Run the drill slowly with light pressure and let the teeth clear the chips. A hole saw cuts cleaner than a spade bit, and a Forstner bit is cleanest of all if you have one.
If you are adding feet, mark their positions about an inch in from each corner and drill pilot holes slightly narrower than the screws. Maple splits easily near an end, and a pilot hole is cheap insurance. Fit the feet after finishing so you do not oil over them.
Flattening, Shaping, and Finishing
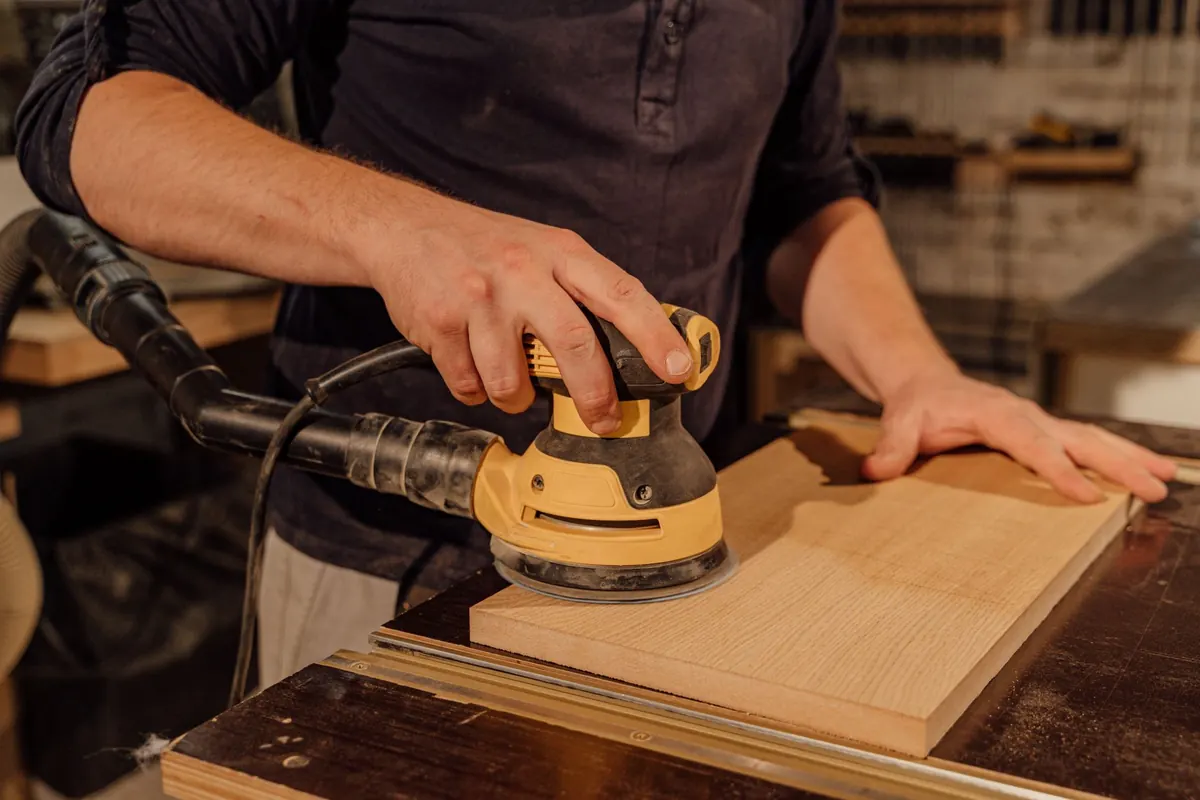
Check the panel for flatness with a straightedge. Small high spots lift out quickly with a hand plane set fine, or with a card scraper, which is quiet, cheap, and remarkably effective on maple. Then sand through the grits: 120 to level, 150 to remove the scratches from 120, 180 to remove those, and 220 to finish. Stop at 220. Higher grits burnish the surface and close the pores so the oil sits on top instead of soaking in.
Ease every edge and corner. A hard 90-degree corner is uncomfortable to hold and chips easily, so round the long edges with a sanding block and chamfer the corners by eye until they feel good in your hand.
For the finish, flood the board with mineral oil and let it sit. Keep adding oil until the wood stops drinking, then wipe off the excess and let it cure overnight. A second coat the next day helps. After that, rub on a paste made from mineral oil and melted beeswax for a soft sheen that sheds water. Do not use olive oil, vegetable oil, or any cooking oil — they eventually turn rancid in the wood.
Wash the board by hand with warm soapy water, dry it standing on edge, and re-oil it whenever the surface starts looking thirsty. Never put it in a dishwasher. If you want a specific finish recommendation for a household with allergies or sensitivities, ask a knowledgeable supplier before you buy.
Small Habits That Add Up
Test every idea on scrap before it touches your good board. Cut a practice rip, drill a practice hole in a cutoff, and finish a small offcut to see how the color settles. Offcuts are free information.
Keep your saw sharp and your clamps within reach. Dull saws make you push, and pushing makes you drift off the line. Clamps left in a drawer mean you improvise a bad clamping setup at the worst moment.
Write the date on the underside with a pencil. Two years from now you will be glad to know when it was made and what you used. And when someone asks where you bought it, hand them the board and tell them it is maple, it is oiled, and it took an afternoon.
Photo: RitaE / Pixabay