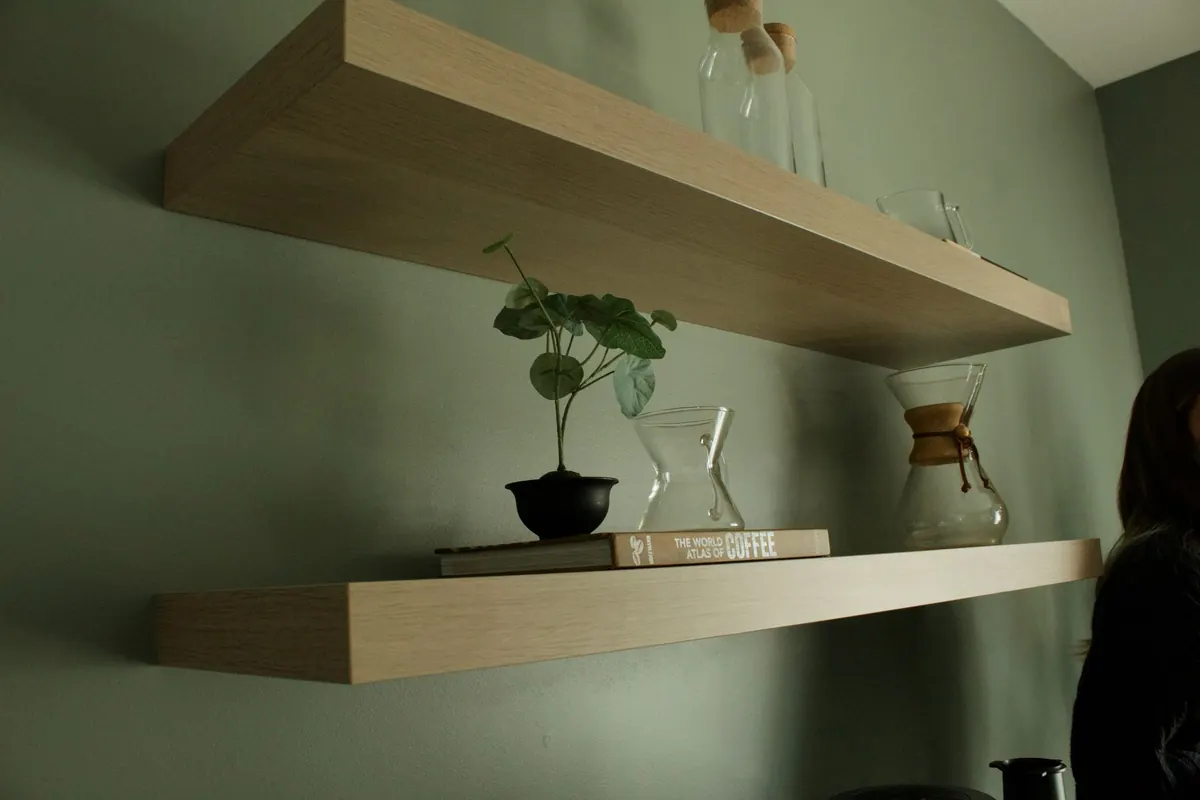
A floating shelf does one thing well: it makes a wall look finished. No visible brackets, no clutter underneath, just a clean line of maple. The trick is that all the hardware lives inside the shelf and behind the drywall, so the work you never see is the work that matters most. This project is friendly to a first-time builder, but it rewards patience. Drill one hole crooked and the shelf will tell on you every time you walk past it.
Choose the Maple and Settle on a Size
Hard maple is heavier and denser than soft maple, machines cleanly when your bits and blades are sharp, and takes a clear finish beautifully. Soft maple is a little lighter and easier to work, and for a shelf, that difference rarely shows. What matters more is thickness. A one-and-a-half to one-and-three-quarter inch thick shelf gives the steel rods somewhere to hide and looks substantial on the wall.
For length, stay around 30 to 40 inches. Longer spans sag under load, and the farther you get from a stud, the more you lean on anchors instead of framing. Standard depth runs 6 to 10 inches, with 8 inches being the sweet spot for books, candles, and small plants. Take a light 1/8-inch roundover to the front edges, or just break them with a sanding block so they feel soft in the hand.
What You Need
- One maple board, 1-1/2 to 1-3/4 inches thick, cut to final length
- A concealed floating shelf bracket sized for your depth, with steel rods long enough to reach the middle of the shelf
- Stud finder, pencil, painter's tape, and a 24-inch level
- 2-1/2 to 3 inch construction screws for studs, plus heavy-duty toggle anchors for any hole that misses framing
- Drill with a brad-point bit matching the rod diameter, plus tape for a depth mark
- Combination square, two clamps, and a scrap block for a drilling guide
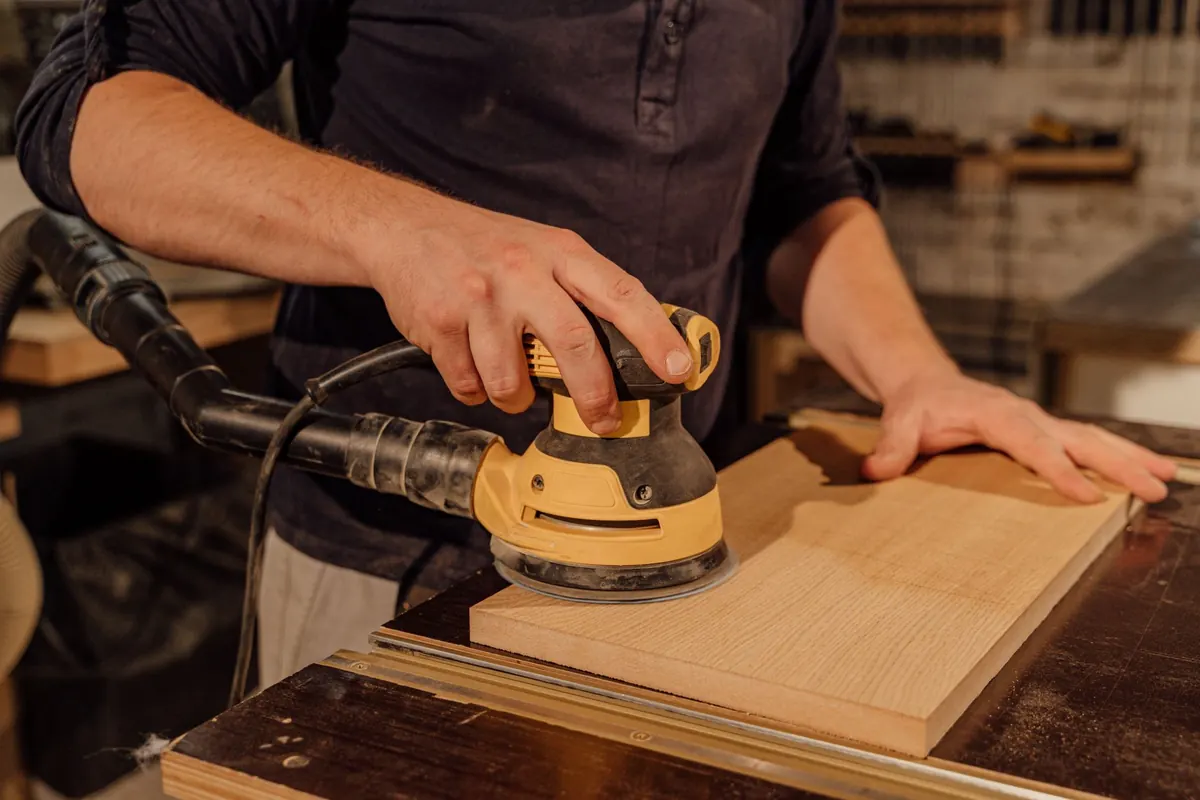
- Sandpaper in 120, 150, 180, and 220 grit, tack cloth, and your finish
Drill the Back Edge First
This is the step that decides whether the shelf sits flush or fights you. Lay the mounting plate flat against the shelf's back edge, tape it in place, and mark the rod centers on the tape. Aim for at least an inch of wood between each hole and the nearest end, and center the holes in the thickness of the board.
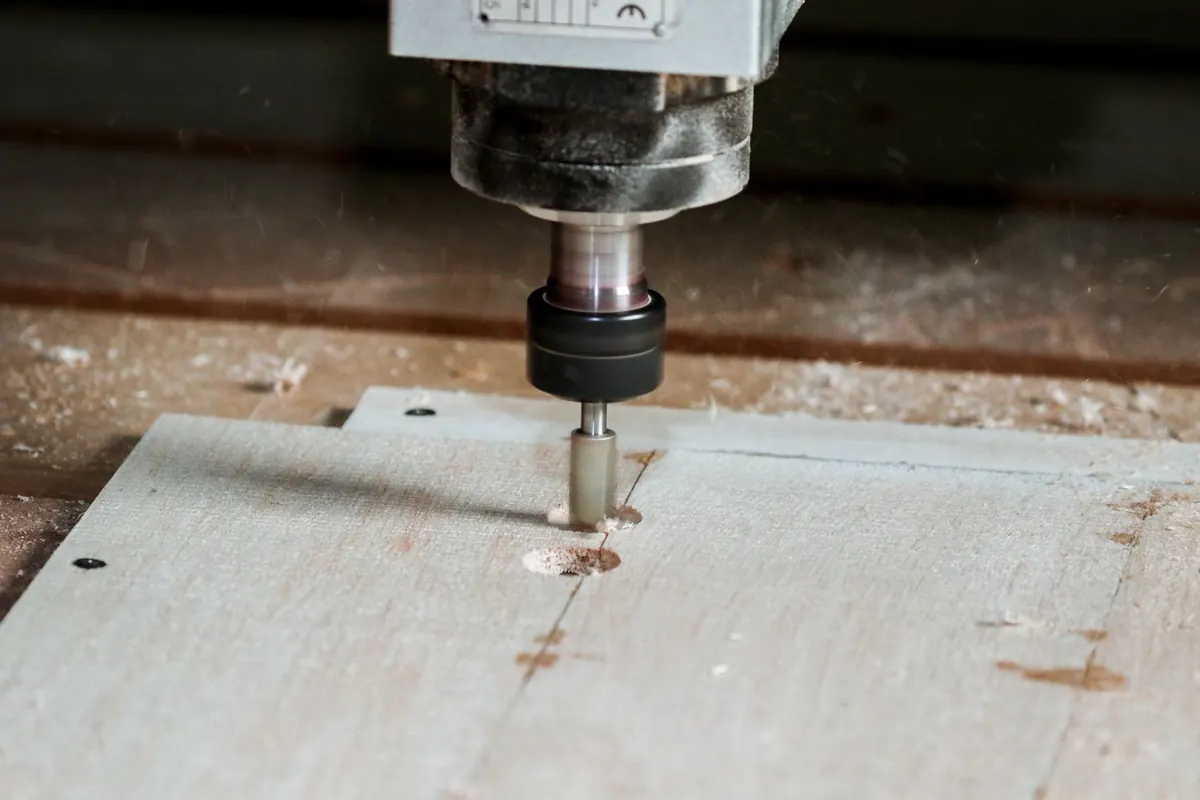
If you own a drill press, use it. Otherwise, clamp a scrap block square to the back edge and use it as a guide so the bit enters straight. Wrap tape around the bit to mark your depth: the hole should be the rod length minus the plate thickness, plus about an eighth of an inch of breathing room. Never let the bit break through the front face.
Drill the holes a hair oversized, roughly 1/64 inch larger than the rods. Maple moves with the seasons, and a snug hole in summer becomes a stuck shelf in winter. Slide the rods in and test the fit before you go any further. They should push in with light hand pressure and no wobble.
Anchor the Plate to Something Solid
Find your studs and confirm them with a thin nail or a small bit. Hold the plate against the wall at your chosen height, check it with the level side to side and front to back, then mark the screw holes. Drive your screws into the studs. If only one hole lines up with framing, put that screw in the stud and use a heavy-duty toggle anchor for the other, or add a second bracket for a longer shelf.
Plaster and old drywall are rarely flat. If the plate rocks, shim behind the low side, snug the screws, and check level again. Tighten until the plate is firm, not until it bows. A bowed plate tilts both rods, and a tilted rod means a shelf that looks drunk from across the room.
Slide It On and Read the Gaps
Push the shelf onto the rods slowly and watch for binding. If it resists, pull it off and check for sawdust packed in the holes. A few light taps with a rubber mallet against a scrap block will seat a snug shelf, but never force it.
Once it is on, check level both directions. A small gap against the wall is normal, especially on textured surfaces, and it disappears in shadow. If you want the shelf to stay put, a few dabs of clear silicone on the rods will hold it without much fuss, though you will need to slice it with a knife if you ever want the shelf off the wall.
Finish Before You Hang It
Maple blottches under stain, so unless you have practiced on offcuts, skip the pigment and go with a wipe-on oil or a clear water-based polyurethane. Sand through your grits, wipe the surface with a damp rag to raise the grain, sand lightly once more, and dust it off with a tack cloth.
Apply three thin coats rather than one heavy one, sanding lightly between coats. Finish all six faces, including the back edge, so moisture moves through the board evenly. Let the finish cure fully before the shelf goes up. A tacky shelf collects dust and smells for days.
Living With the Shelf
Treat a floating shelf like a shelf, not a workbench. Keep loads moderate, spread weight toward the ends where the rods do their work, and avoid a heavy stack of books parked dead center. Check the mounting screws after a few months, then once a year. Dust with a soft damp cloth, and touch up scratches with a little paste wax or the same finish you used originally.
If you plan to load it heavily, or you are hanging it above something you care about, put every screw into framing. Toggle anchors are strong, but studs are stronger, and the extra ten minutes of finding them now saves you a repair later.
Photo: Avery Arwood / Pexels