A hand plane is the tool that separates boards that look homemade from boards that look made. It's also the tool most beginners buy wrong. The usual mistake is buying something new and cheap that won't hold an edge, or a rusty antique that needs more work than the project it was meant to serve. Neither is a disaster, but both waste money and patience.
The good news: you don't need three planes to start. You need one that fits the work in front of you, plus a way to sharpen it. Here's how to sort out which one that is, and how to tell a sound used tool from a problem.
Match the Plane to the Work You Actually Do
Bench planes are sized by job, not by prestige. The three worth knowing about are the block plane, the jack plane, and the smoothing plane. Each answers a different question.
Ask yourself what your next five projects involve. Trimming door edges, chamfering legs, fitting a drawer front, and cleaning up plywood edging all point to a block plane. Flattening a cupped board or bringing rough stock down to thickness points to a jack. Getting a glass-smooth surface ready for finish, after machines have done the rough work, is smoothing plane territory.
If you're not sure, start with the block plane. It's the least intimidating to use and the one you'll reach for even after you own bigger tools.
The Block Plane: Best First Purchase for Most Beginners
A block plane is small enough to hold in one hand and light enough to use on an edge while the board sits on your bench. The classic size is about six inches long with a cutter around an inch and a half wide. That's enough for chamfers, end grain, and light trimming without being fussy.
You'll see two styles. A standard-angle block plane beds the iron at 20 degrees; a low-angle version beds it at 12 degrees. The low-angle plane handles end grain better because the cutting angle ends up shallower, and it's the more versatile of the two for general work. If you plan to work a lot of plywood or MDF, a standard-angle plane with a steeper cut is tougher on abrasive edges. Either is fine. An adjustable mouth, which lets you close the opening down for fine shavings, is worth having.
What a block plane won't do: flatten a full-length tabletop, or take heavy cuts on rough lumber all afternoon. That's not its job.
The Jack Plane: One Plane That Does Several Jobs
If you're processing rough lumber by hand, the jack plane is your workhorse. A No. 5 is around 14 inches long with a two-inch iron, which makes it long enough to flatten a board reasonably well and short enough to still be manageable.
The trick with a jack is to own two irons, or at least be willing to reshape one. A cambered iron, where the edge is given a slight curve, makes fast work of roughing and won't leave tracks in the surface. A straight iron lets you use the same body for jointing shorter boards. That flexibility is why a jack often gets recommended as a first big plane over a dedicated smoother.
It won't leave a finish-ready surface, though. Expect to follow up with a smoother, a scraper, or sandpaper.
The Smoothing Plane: Buy It When Surface Matters
A smoothing plane, usually around nine inches long with a two-inch iron, is built for the last few passes. Its mouth is set fine, the chip breaker sits close to the edge, and the whole tool is tuned to take shavings so thin they're nearly translucent.
This is the plane people romanticize, and it's the wrong first purchase for most beginners. It's slow at removing material, it demands a genuinely sharp iron, and it only shines on stock that's already flat and close to final thickness. Buy it third, once you have boards worth smoothing.
What to Inspect on a Used Plane
Most planes worth owning are used. That's fine — a well-made older plane will outlast a cheap new one. But you need to know what you're looking at. Bring a short straightedge and a small flashlight, and check the following:
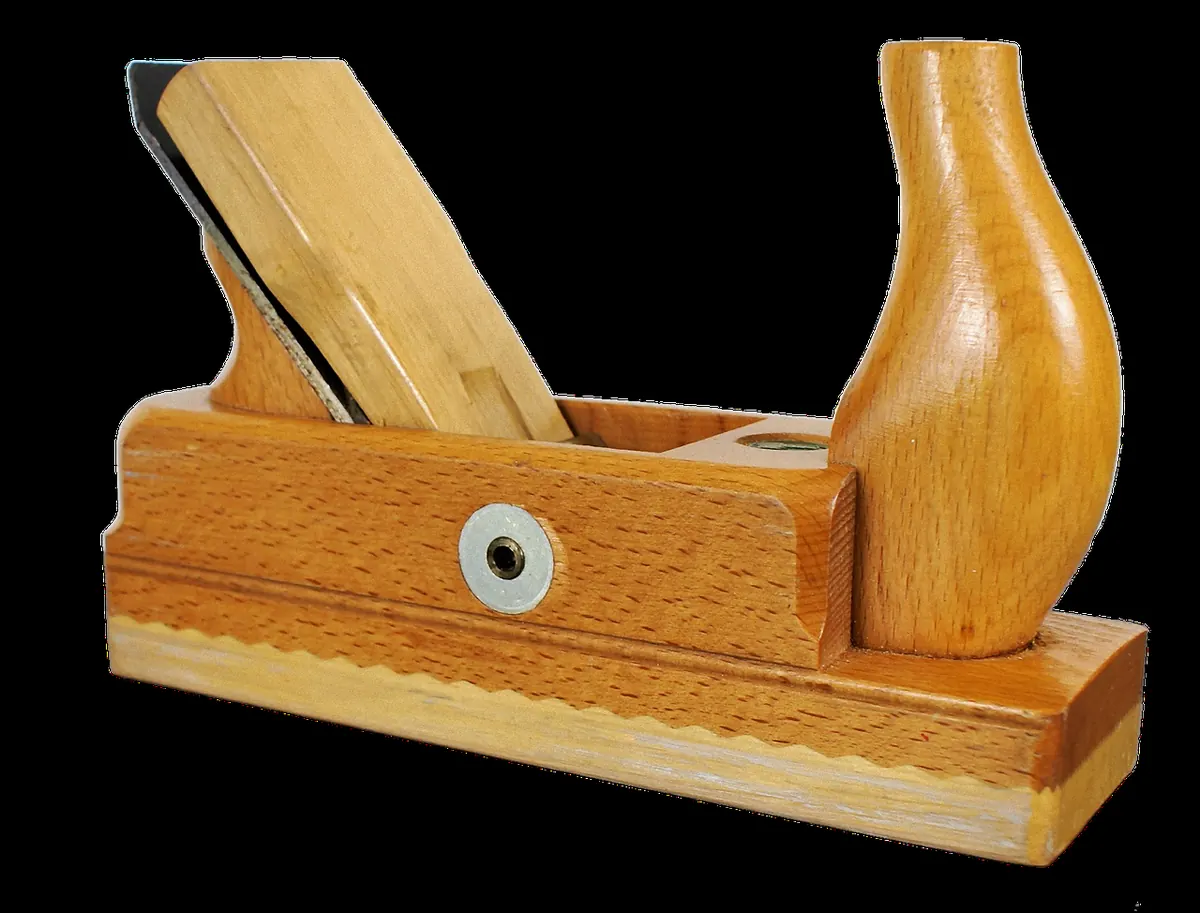
- Sole flatness. Lay the straightedge along the length and across the width. Look for light gaps at the mouth and at the ends. A hollow of a few thousandths is a nuisance; a sole that rocks visibly is a pass.
- The mouth. Chips and cracks around the opening are hard to fix and can make a plane useless for fine work. A wide mouth from wear can be closed with a patch, but that's a project of its own.
- Cracks in the casting. Check the cheeks, the area around the mouth, and where the frog mounts. Any crack is a walk-away.
- The frog. It should sit flush on its seat with no wobble, and the screws should tighten rather than spin. A frog that won't settle makes the plane impossible to adjust reliably.
- The iron. This matters most. Pitting along the back near the edge is bad news; pitting an inch up from the edge is usually fine. Check that there's enough steel left to sharpen many times, and that the edge isn't chipped or badly rounded.
- The cap iron. It should mate tightly to the iron with no gap where shavings can wedge. A bowed cap iron can often be worked flat, but a badly pitted one is scrap.
- The adjuster. Turn the depth wheel and the lateral lever. The iron should move smoothly in both directions without backlash you can't dial out.
- Tote and knob. Cracks are common. A loose or split tote is repairable or replaceable, so use it as a negotiating point rather than a dealbreaker.
- Rust. Surface rust cleans up with abrasive pads and oil. Deep pitting on the sole or the iron does not.
What's Reasonable to Fix Yourself
Expect to flatten a slightly out-of-true sole, sharpen the iron, clean rust, and re-seat the frog. That's an evening's work and part of owning a used tool. What you shouldn't take on as a beginner: welding cracks, patching a mouth, or rebuilding a broken adjuster. There's no shortage of sound planes out there.
The Cost Nobody Warns You About
The plane is half the purchase. The other half is sharpening. A plane with a dull iron doesn't smooth wood; it scrapes it and leaves tearout. Budget for a couple of sharpening stones or a diamond plate, and a honing guide if you want consistent bevels without a learning curve. Add a flat reference surface — a piece of plate glass or a granite tile works — and some adhesive sandpaper for flattening soles.
Spend here before you spend on a second plane. A tuned, sharp block plane will outperform three dull bench planes every time.
A Simple Buying Plan
Start with a low-angle block plane with an adjustable mouth, used if you can find one in decent shape. Learn to sharpen on it — the iron is small, so mistakes are cheap. Add a jack plane once you're working rough lumber, and a smoothing plane when your surfaces start to matter.
When you shop, ask for clear photos of the sole, the mouth, and both sides of the iron before you commit. If a seller won't provide them, keep looking. And if you're ever unsure whether a tool is safe to use or worth repairing, get a second opinion from someone who's handled one — a local woodworking club or a shop teacher is usually happy to help.
Buy one good plane, sharpen it properly, and use it until it feels like an extension of your hand. The rest can wait.
Photo: Ralphs_Fotos / Pixabay